You ever been out and about and need to charge your phone, but don't want to have to carry a bulky battery pack that looks like an old pager? Why not disguise your charger as a pack of mints!
With this neat #DIY portable USB charger, disguised as a pack of Altoids, you can charge your phone or other personal electronic devices with a 9V battery.
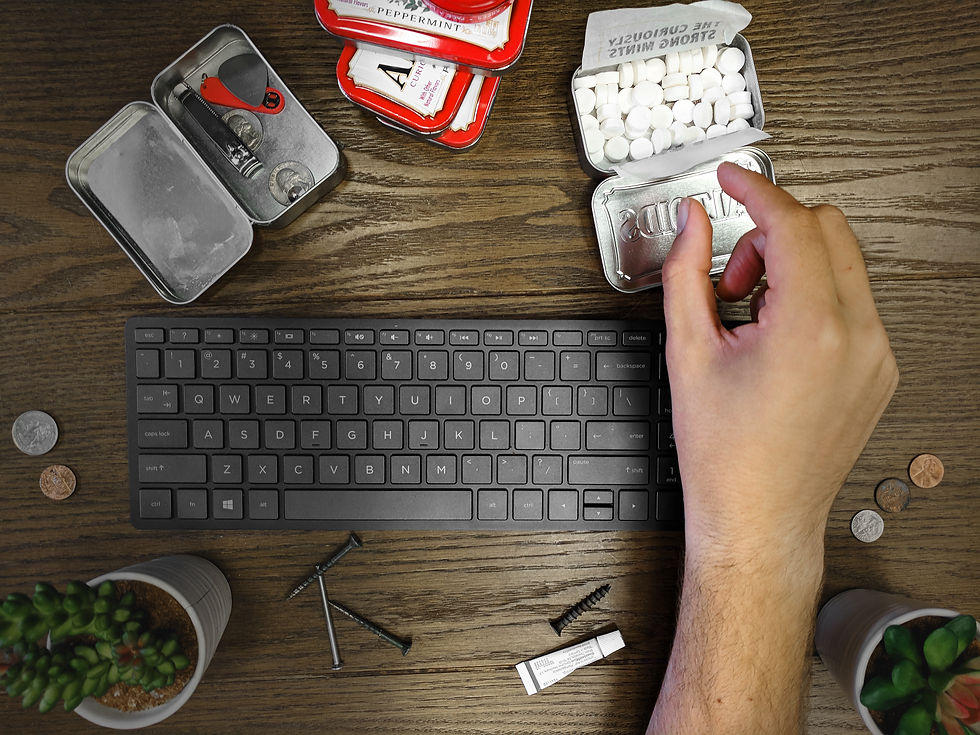
Supplies
Altoids Tin
USB Car Charger
On/Off Button
2" Wire (small gauge)
9V Battery Clip Connector
9V Battery
Padding (sponge)
Hot Glue
Solder
Tools
Hot Glue Gun
Solder Gun
Dremel/Drill
Awl/Drill
Instructions
In order to make your 9V Breath Mint Phone Charger, you'll first need to stop by a gas station while you're out on the town and grab a tin of Altoids. Feel free to take your time using the Altoids at a normal pace and wait to perform the rest of the instructions until all of the Altoids are used up. (It is not recommended to build the Altoids Tin Charger with mints still inside.) (It is also not recommended to eat all of the Altoids at once in an attempt to free up the tin as soon as possible.)
Next, you're going to want to visit the $1, well $1.25, Store and pick up a USB Car Charger. The color should not matter because you are not going to use any of the colored parts, only the internal components. I suggest going with one that only has one USB charging port, because that's what I did, and that's what these instructions will go over.
...because that's what I did, and that's what these instructions will go over.
Once you get your beautiful pink USB Car Charger back home, take it apart and throw away all the pink parts.
You'll need an On/Off Button, or a Switch. I opted for a tiny little click button that I got on Amazon, here. Of course, you can only buy 1,000 at a time. (Really only 10, but it feels like it when you only need 1.)
Measure the dimensions of the USB Port and On/Off Button, and trace a rectangle and circle, respectively, on 1 side of the Altoids Tin. Make sure there will be enough space between the internal components. Then carefully cut out the rectangle and drill out the circle.
While they are still outside of the Altoids Tin, solder the USB Port to the On/Off Button to the 9V Battery Clip Connector. Any size wire will work, but I used some small gauge wire that I had lying around. The 9V Battery Clip Connector was another Amazon purchase, here.
Once the solder has cooled and hardened, place the soldered components into the Altoids Tin and get a sense for where everything will lie, in particular the 9V Battery. Take note of the voids, or empty spaces.
Remove the soldered components out of the Altoids Tin and, using the Hot Glue Gun, glue pieces of padding where you remembered there were voids when the components were placed inside. Use a little glue in the center of the piece of padding at first, in case you need to remove and replace a piece; then you can lift the edge to glue it down more if it's placed correctly.
Keep the Hot Glue Gun plugged in, because when the glue on the padding is cooled and dry, it's time to generously glue the USB Port into the rectangle hole you cut earlier and glue the On/Off Button into the hole you drilled earlier.
Wait until the giant glob of hot glue you just slathered on there is nice and cool and dry.
Then plug the 9V Battery into the Battery Clip Connector and set it into the padding.
Close the lid, plug your phone charging cable into the USB Port, click the On/Off Button, and charge your phone on the go!
Comments